How Do I Resize a Group in Figma?

Groups are an essential part of the Figma platform. They are essentially a container, and they can contain multiple layers. This makes it easier to move, select, and modify layers in a project.
They also allow users to organize their project in a hierarchy, making it easier to navigate and manage complex projects.
Groups are also used to create complex shapes and designs. You can combine multiple layers, including shapes, text, and images, into a single group. This makes it easier to manipulate and modify the design without having to move each layer individually.
How Do I Resize a Group in Figma?
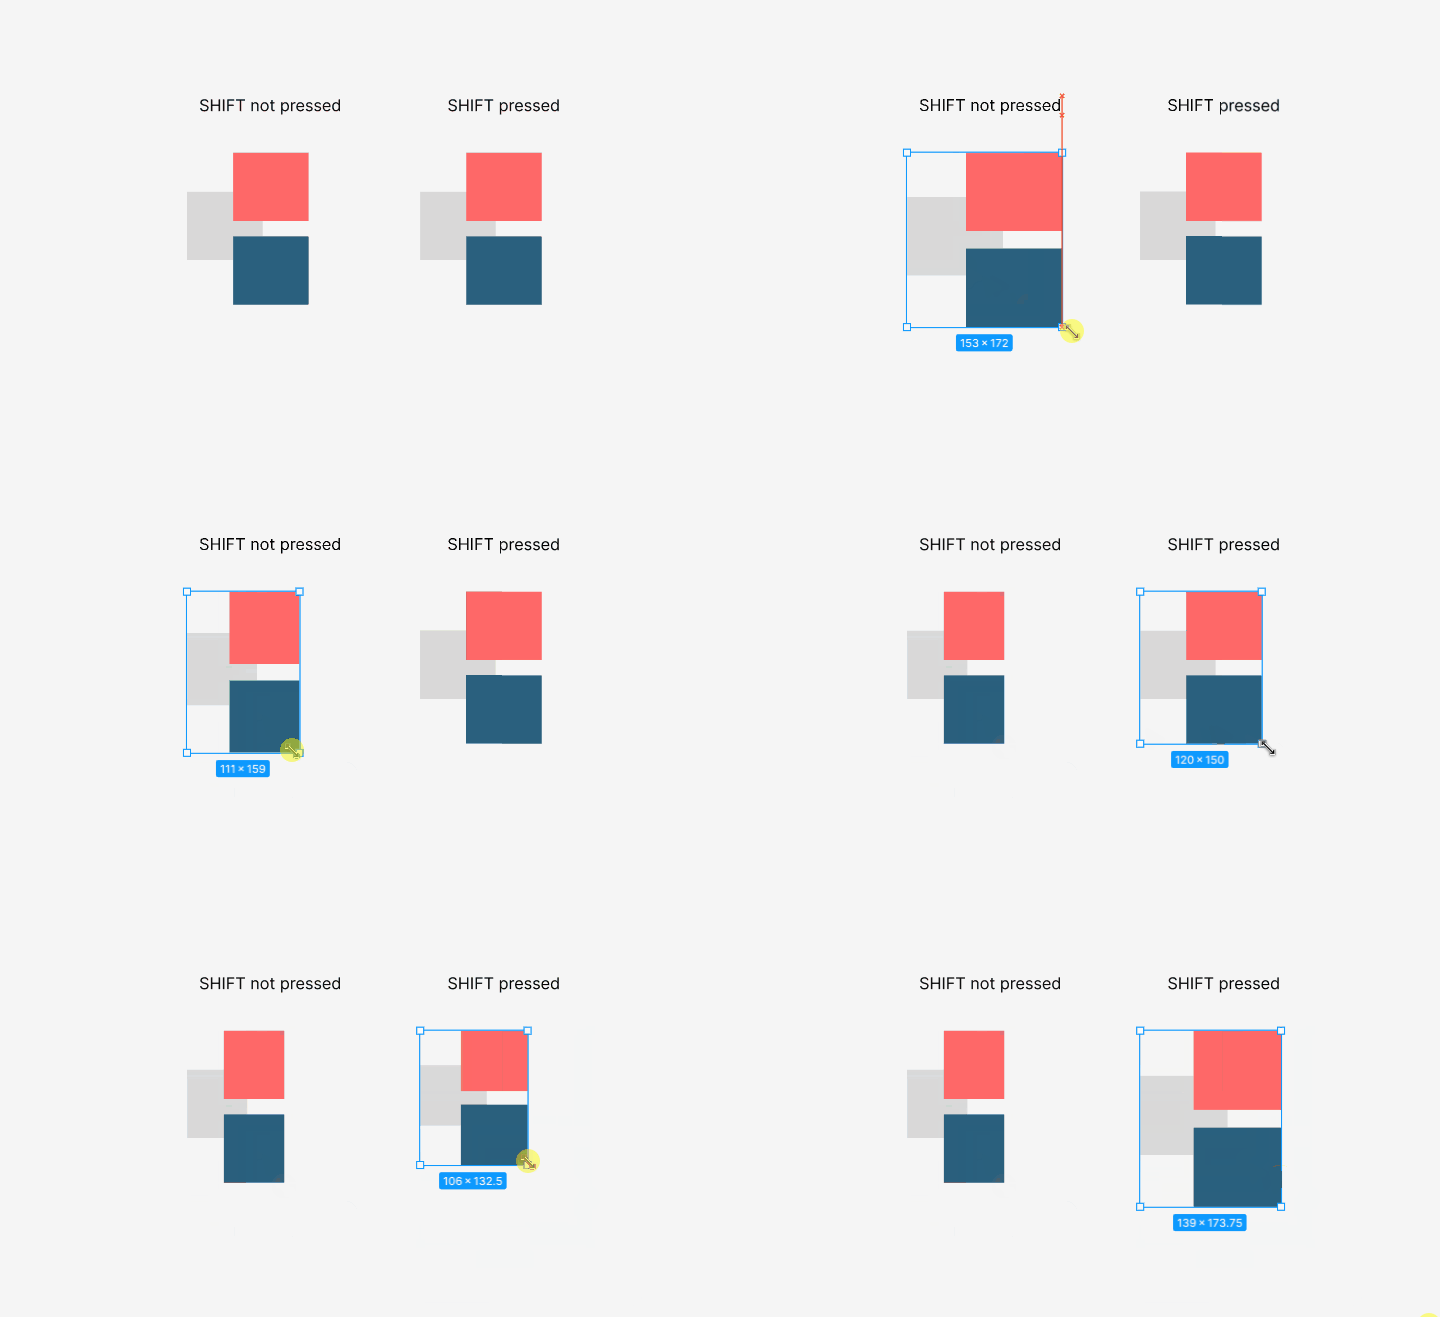
To resize a group, select the group and then drag the corners while holding SHIFT. This will cause all the individual layers from within the group to be upscaled proportionally, and they will maintain the same grouped shape.
You can also use the “Scale” tool by pressing K to resize all elements within the group.

Conclusion
Resizing a group is simple and can be done by selecting the group and dragging the corners while holding SHIFT. This will cause all individual layers within the group to be upscaled proportionally and will maintain the same grouped shape.
Or simply press K which will enable the scaling tool. After that just drag the corners to make your group bigger or smaller.
