
How Do I Change the Color of an Image in Figma?

Figma supports most popular image formats, including PNG, JPG, SVG, and GIF. Now it's important to know the difference between these formats and how and to what capability you can work with them in Figma.
How Do I Change the Color of an Image in Figma?
There are two main types of files: raster (PNG, JPG, GIF) and vectors (SVG, PDF, AI, EPS). While rastered ones work with pixels, the vector ones - well.. work with vectors.
This means that if you try to increase the size or the quality of a PNG you'll end up with a blurred image.
On the other hand with a vector file you will be able to scale it to infinity. No matter how much you resize your illustration it will always look sharp.
Now, when it comes to changing colors and making change to uploaded content in Figma - you can do pretty much anything you want with a vector file.
To change the color just ungroup your illustration by right clicking and selecting the ungroup option and after that just select which part you want change and just change the color.
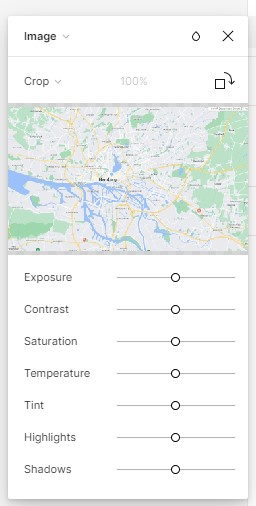
Raster images will only let you make slight adjustments to your image. To see these options just click on Fill -> Image (on the right panel):
So, while you can make minor adjustments to how your image looks, unless it's a vector you cannot really replace one color with another. At least not with Figma.
Conclusion
Figma is an amazing online design tool that makes creating visuals easy and fun. It supports most popular image formats but you need to keep in mind that you can replace one color with another only if your file is a vector. Raster files will only be slightly adjustable
