
How Do You Change the Size of an Artboard in Photoshop?

One useful thing to know when working with Photoshop is how to change the size of an Artboard.
How Do You Change the Size of an Artboard in Photoshop?
If you're wondering how to do it's actually quite simple: The first thing you'll need to do is open the Artboard Panel. To do this, go to the Window menu and select Artboard. You'll then be able to see the Artboard Panel and make changes to the size of the Artboard.
Once you've opened the Artboard Panel, you'll need to select the Artboard you want to resize - You can do this by clicking on the Artboard's name in the list. Once you've selected it, you'll be able to see the current size of the Artboard, as well as the options for changing the size.
Next, you'll need to select a new size for your Artboard; You can do this by either entering the size manually, or selecting from a list of preset sizes - Once you;ve selected your desired size, you can click the "OK" button to apply the changes.
And that's it! You've now changed the size of your Artboard in Photoshop. It's really that simple!
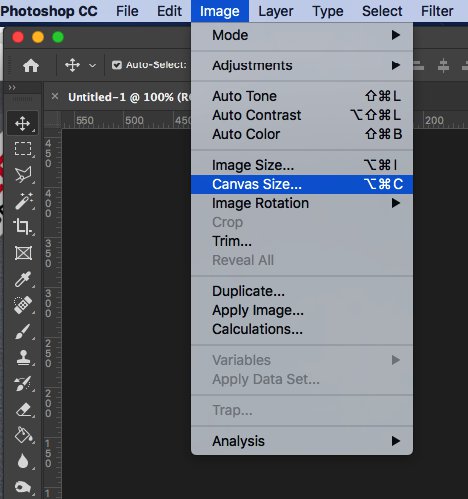
Alternatively you can go to Image -> Cranvas size and change it there instead.
Of course, if you're not sure what size you want your Artboard to be, you can always experiment and try different sizes untill you find one that works for your design. And if you ever need to go back to the original size, you can simply select the Artboard again and click on the "Reset" button.
So, if you ever need to change the size of an Artboard in Photoshop, just remember to open the Artboard Panel, select the Artboard you want to resize, select the desired size, and click the "OK" button.
