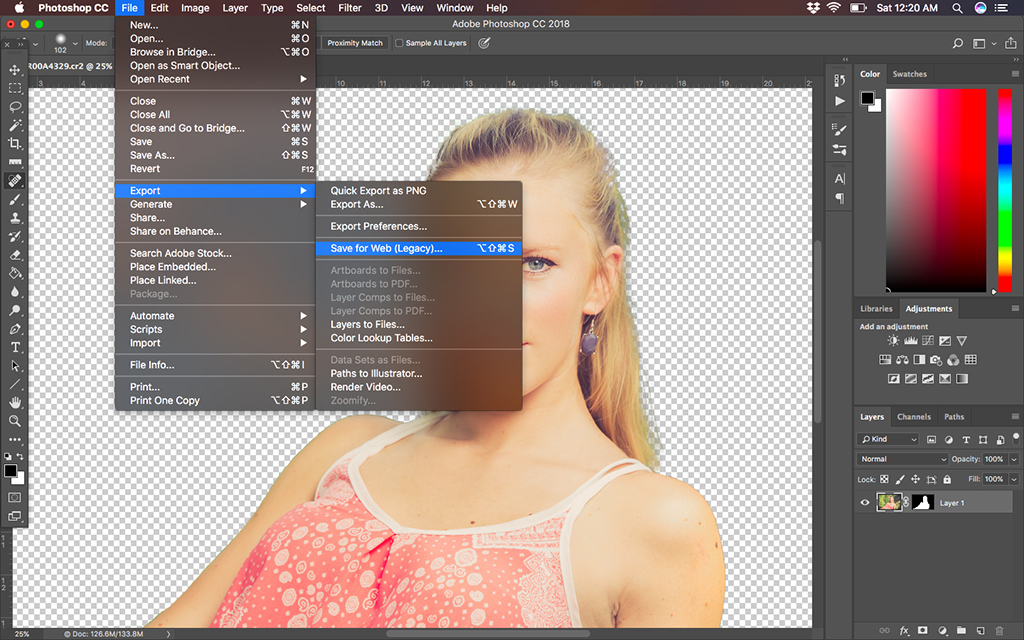
How Do I Save a Photoshop File With a Transparent Background?

If you’re working with a logo, or any other image, in Photoshop, you may want to save it with a transparent background; This means that when you place the image on a website, or in a document, the background won't show up.
How Do I Save a Photoshop File With a Transparent Background?

To save a file with a transparent background, the first step is to make sure you don’t have a background layer that's usually white and might throw you off. If you do, you’ll need to delete it or hide it. To do this, right click on the layer and select “Delete Layer”; To hide it just click on the eye icon next to it.
Once you’ve done this, you’ll need to go to “File”, then “Save for Web”; This will open a window where you can select the file type you want to save your image as. To save a file with a transparent background, you’ll need to select “PNG”.
Then you’ll need to make sure that the “Transparency” box is checked. This will ensure that the background of the image is transparent.
Once you’ve done this, you can click “Save”;
This will save the iamge with a transparent background; You can then upload the image to your website, or insert it into a document, and the background wont show up.
So, if you want to save a Photoshop file with a transparent background, make sure you don’t have a background layer - go to "Save for Web" and select "PNG" - Check the "Transparency" box and make sure the “Matte” box is un-checked, and then save the file . Thats all it takes to save a file with a transparent background in Photoshop!
